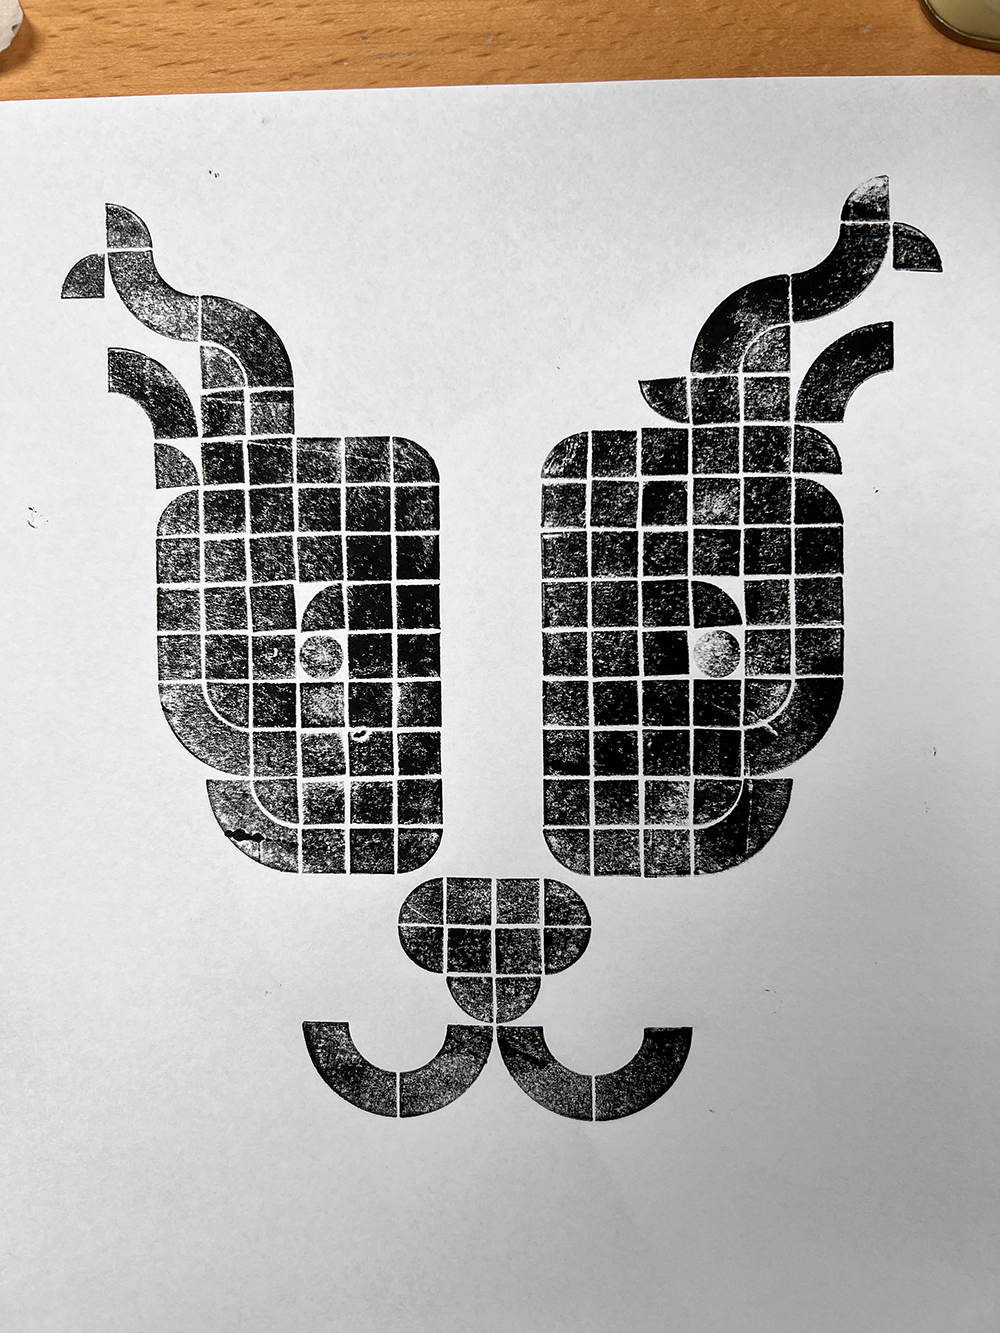
Printmaking with Lego
It was meant as a fun summer project, but as one of my dogs unexpectedly needed surgery and it kept raining, I already did a few experiments.
Materials:
– Lego plates in different sizes.
– Lego dots/tiles (the flat pieces)
– Glass plate/old mirror.
– Roller. I used an old one like this one that I’ve had for over 20 years.
– Smooth paper. I just grabbed some paper from the printer and a few sheets from a notebook. It’s not the best paper but I won’t use anything more precious for these first experiments.
– Block printing ink. I used water-based ink which is new to me. The great thing is that I could work at our kitchen table while keeping an eye on my dog and it’s super easy to wash off. The confusing part is that it dries fast so I keep minimal ink on my plate.
– A spoon or baren.
– Cardboard. I used cardboard from packages to make frames that hold the different Lego plates. I’m sure it will work without this, but I find it easier to spread the pressure and keep the paper in place.
Step by step:
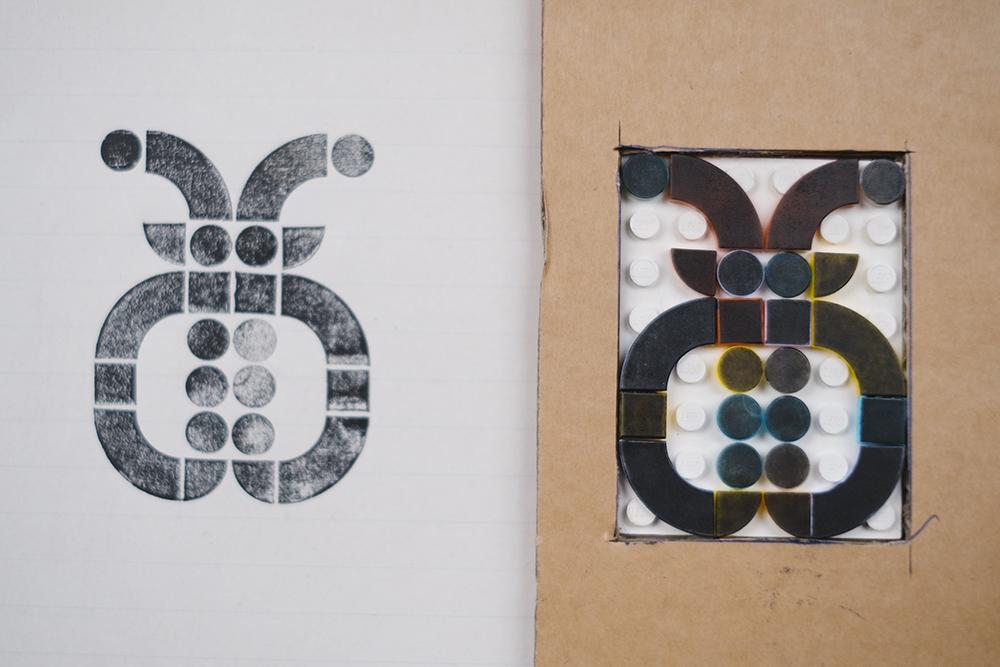
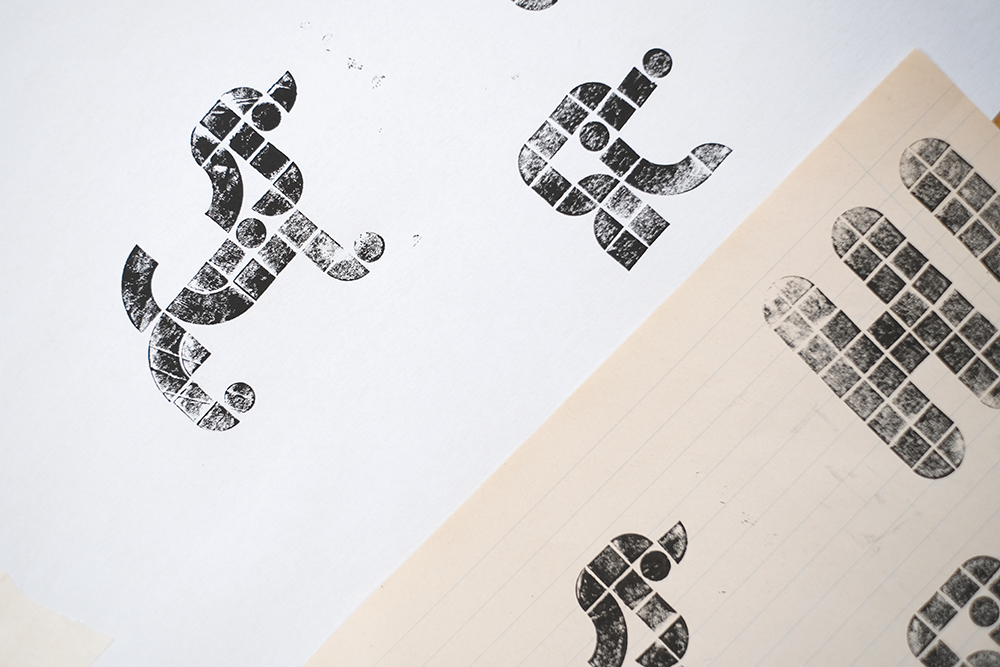
1. Make a design with the flat tiles on a Lego plate. The design should be smaller than the paper you’ll be using and mirrored.
2. Put a small amount of ink on the glass plate and roll it out evenly. I’d suggest not rolling it out too thin with water-based ink as it might dry out too fast.
3. Roll the ink onto your design. In a perfect world, the brayer/roller should be wider than your design to avoid ugly lines. But I didn’t mind imperfections and rolled a few times in different directions.
4. Place the design in the frame and tape the paper onto it. Gently lay it flat over the design.
5. Rub the back of the paper with a spoon or baren until you’re satisfied with the print.