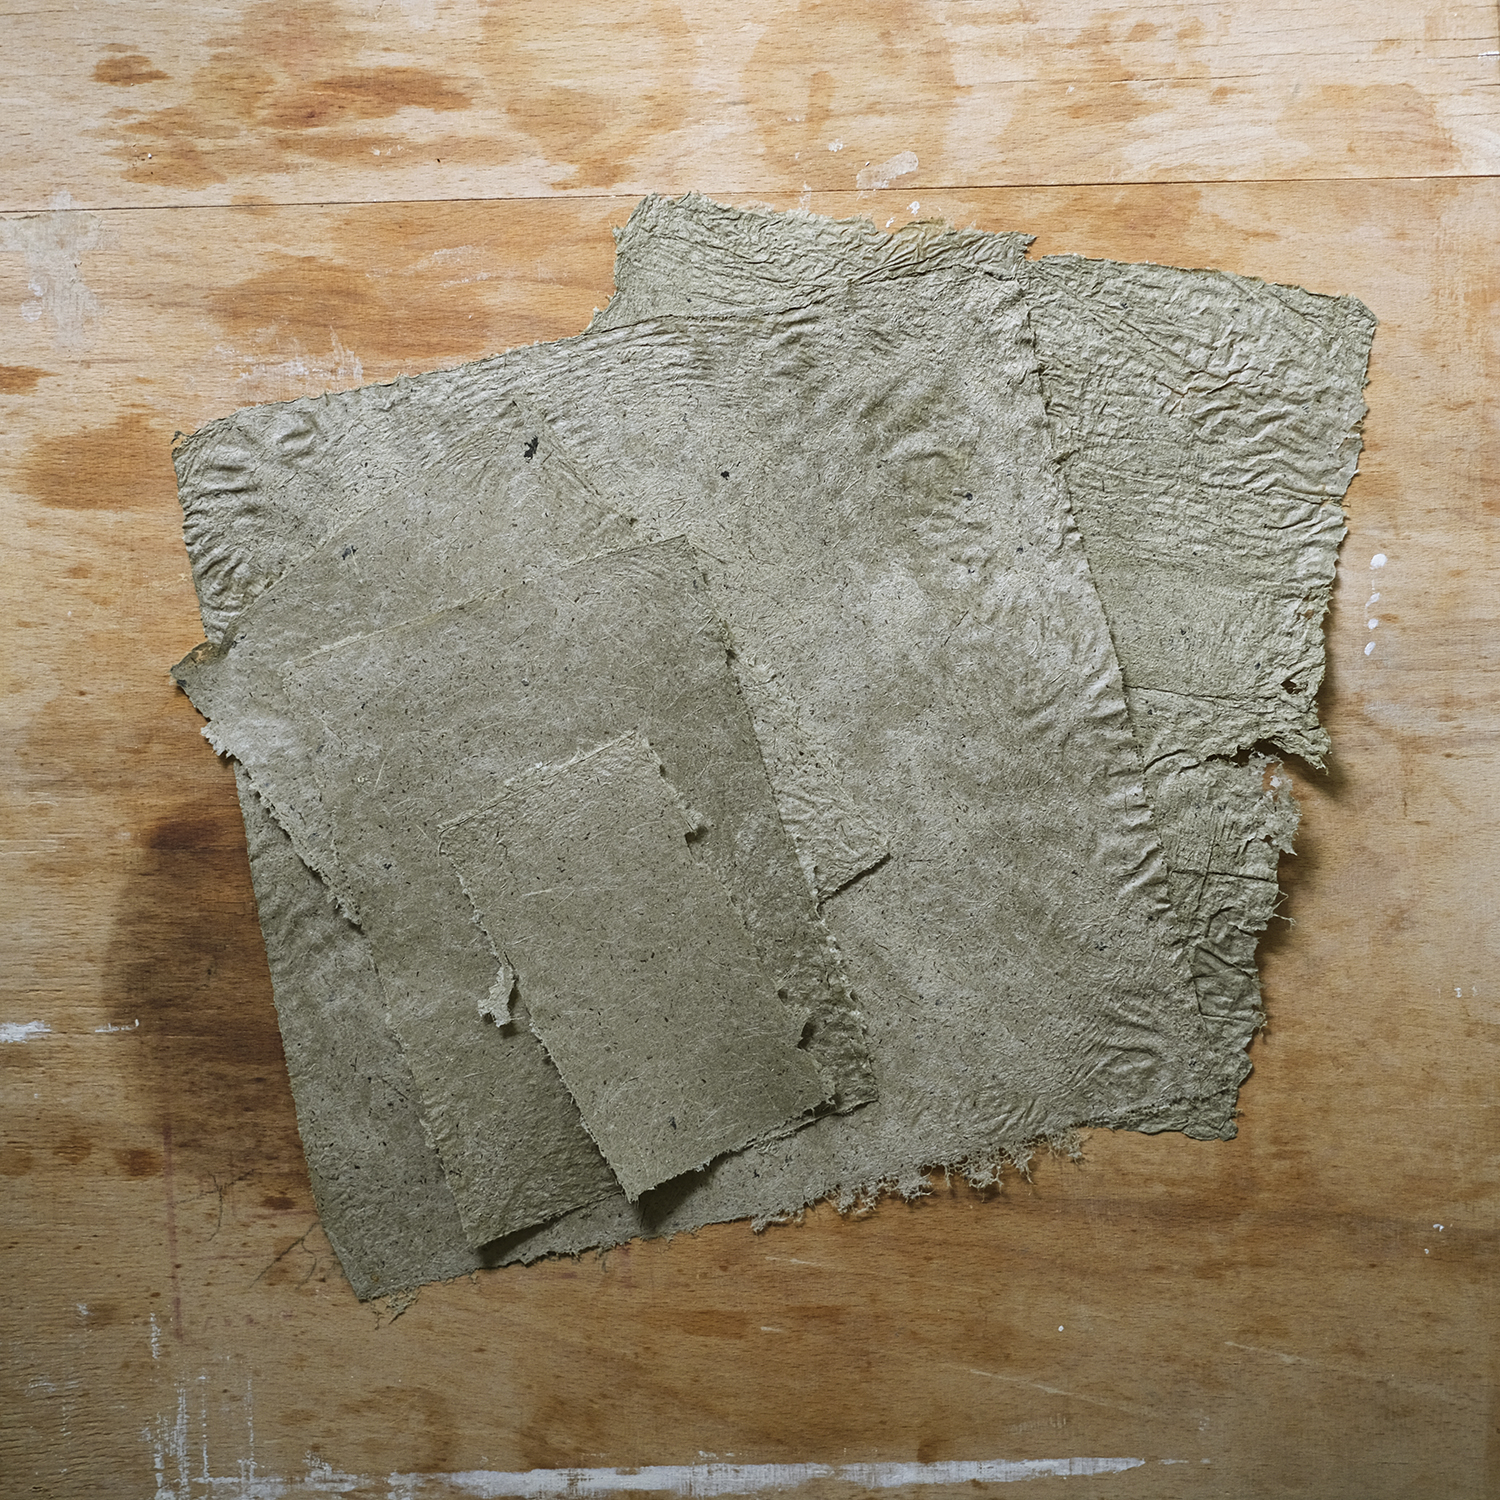
Diy handmade paper from cattail
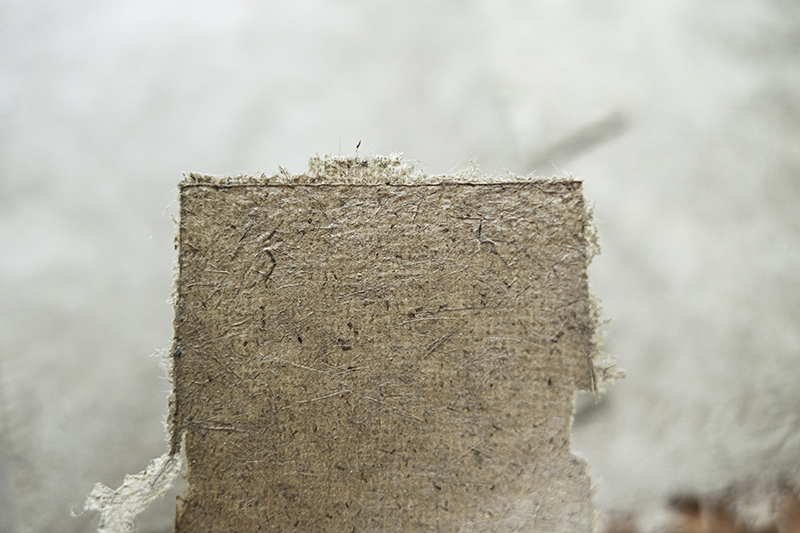
Can you even call yourself a paper lover if you’ve never tried making your own paper?
I’m not sure, so I’m up for the challenge!
Paper plays a crucial role in my life and I use it every day for drawing, painting, making zines, or scribbling down everything from random thoughts to ideas for projects. Feeling nice paper under my fingertips or flipping through a book printed on perfect paper fills me with an electric kind of joy. It cannot, however, be too pretty or I won’t use it. Especially sketchbooks have to be boring, practical, or simply ugly- otherwise, I would never dare to ruin them with bad sketches or ugly drawings.
Luckily, I have a decent collection of paper at my studio, because finding good/interesting/workable paper isn’t easy around here. The closest shops are in Stockholm which is about 2,3-3h driving, but that doesn’t dissolve the curiosity about all things paper.
Insert the paper lightbulb: “I can try making my own paper…?”
If I remember correctly, I might have attempted papermaking at school, but a few decades leave me with nothing but a dusty memory.
Wikipedia definition of paper: “Paper is a thin sheet material produced by mechanically or chemically processing cellulose fibers derived from wood, rags, grasses, or other vegetable sources in water, draining the water through fine mesh leaving the fiber evenly distributed on the surface, followed by pressing and drying.”
As you can see, you have numerous options to make your own paper from and every material will have its own look and qualities. For this experiment, I decided on the grasses by the lake as the material comes straight from nature, we have an almost endless supply of it, and we can experience the most basic approach to paper making.
Following a tutorial by The Organic Artist, we collected some vass, aka Cattail, a plant that is growing like crazy here by the lake. Later, I read that you can also use the seed heads, but this time we only collected stems and leaves.
Supplies for making paper:
– basic material (reed, wood, paper, …)
– knife/scissors to cut it into pieces.
– an old cooking pot & spoon
– washing soda or lye (optional)
– blender/mixer (not used for food)
– colander
– shallow tub
– mold and deckle
– felt/canvas/old towel
– thick cardboard and wood to press the paper between
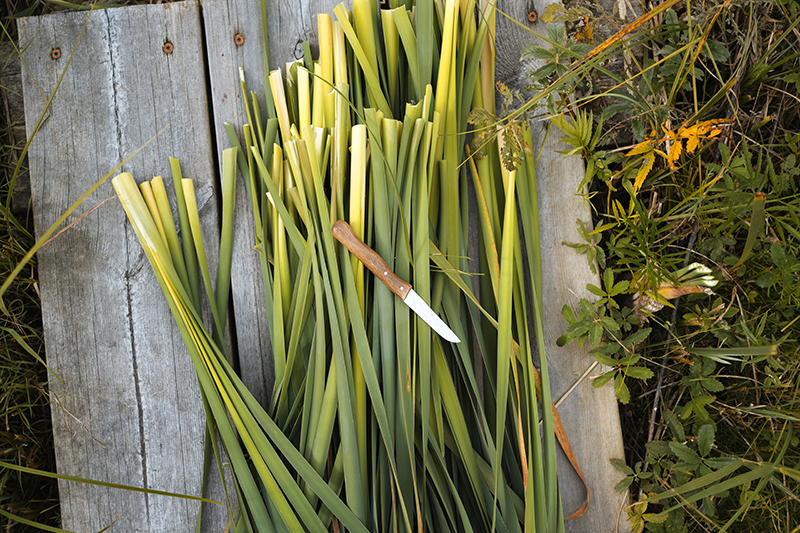
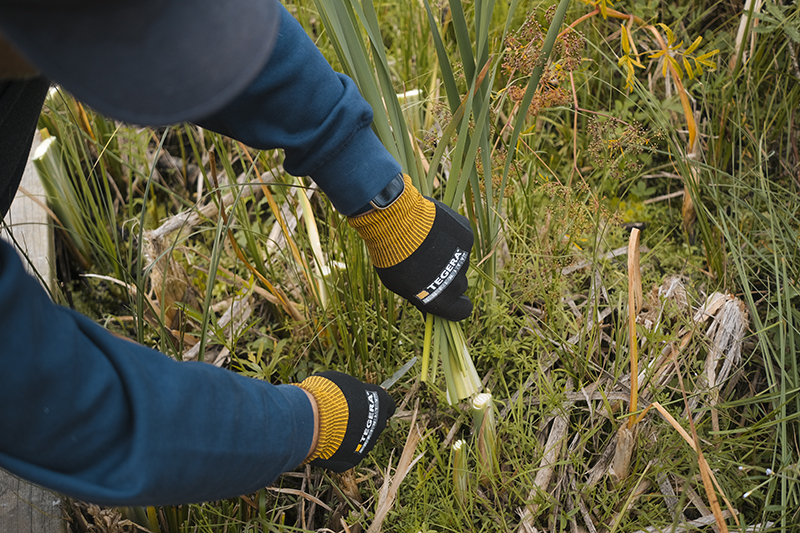
As you can see, there is more than enough. Every spring we have the part in the middle cut by a giant amphibian grass clipper so that we can get out to the lake with the kayak.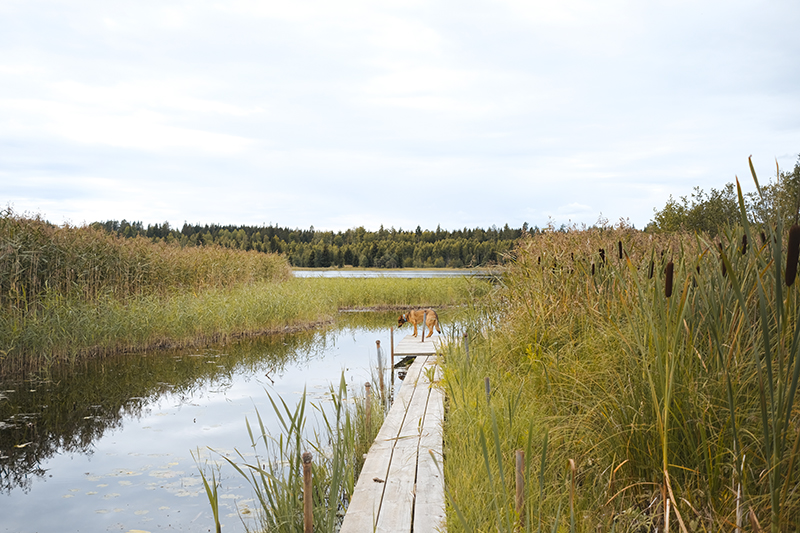
As if we made soup, everything is cut into small pieces of 1-2 cm, then water is added and the process can begin.
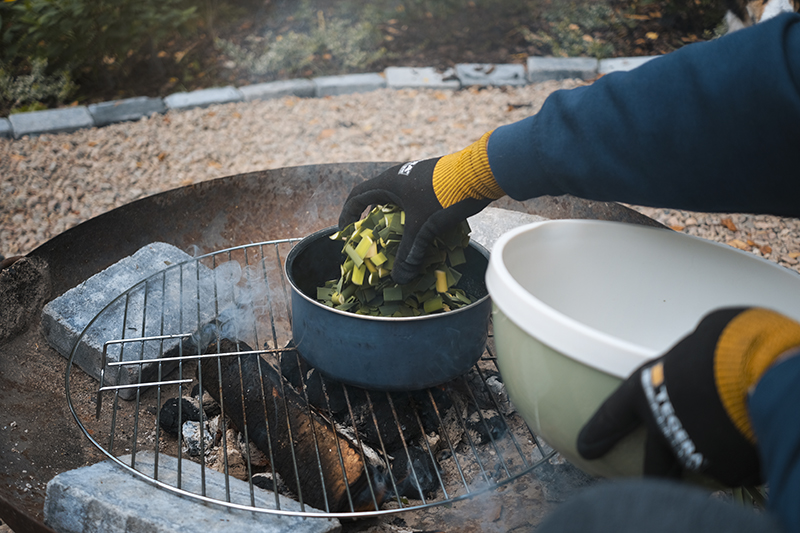
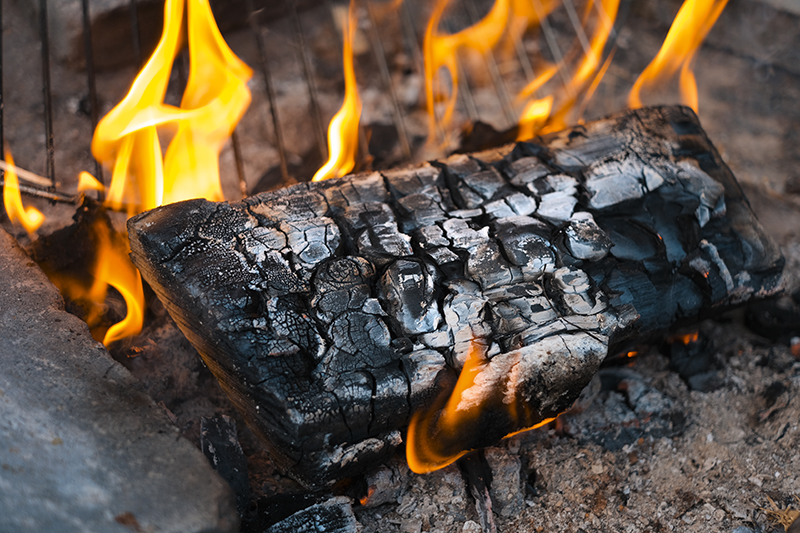
We started the fire with some extra coal a bit before the cooking in order to have a stable heat source without tall flames, even though we used an old cooking pot.
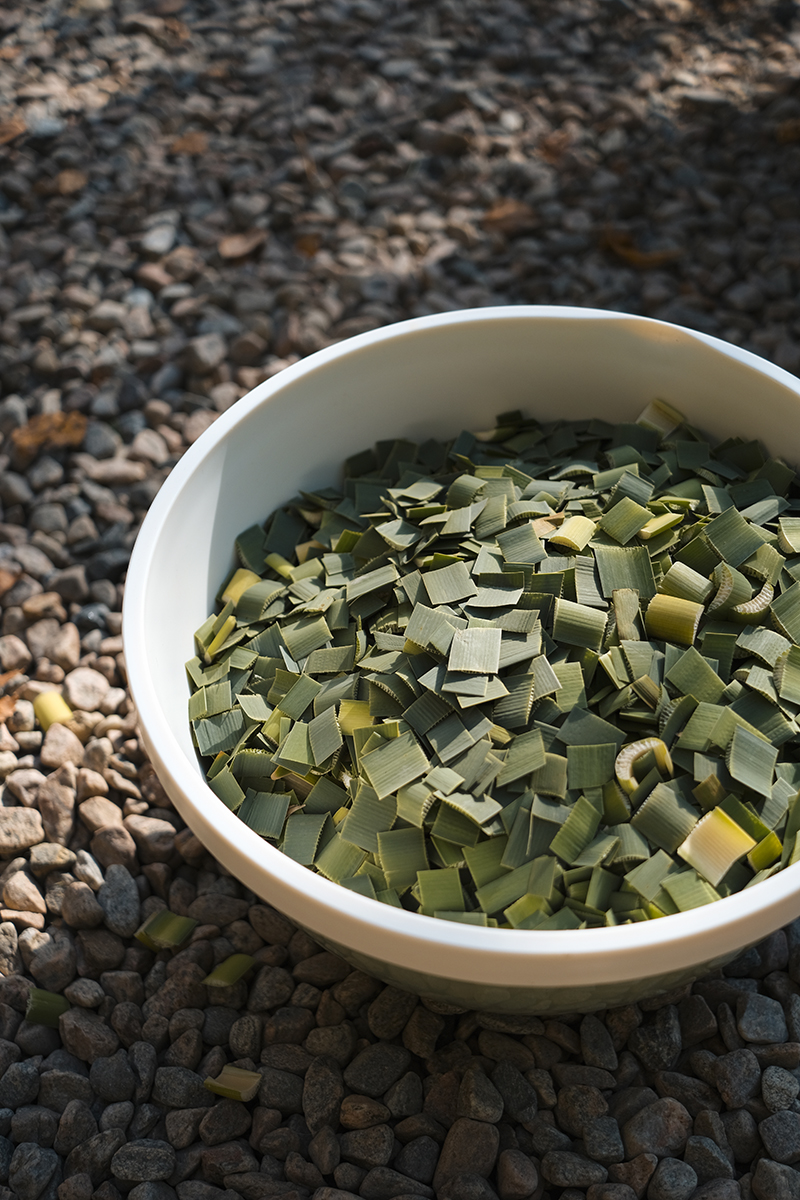
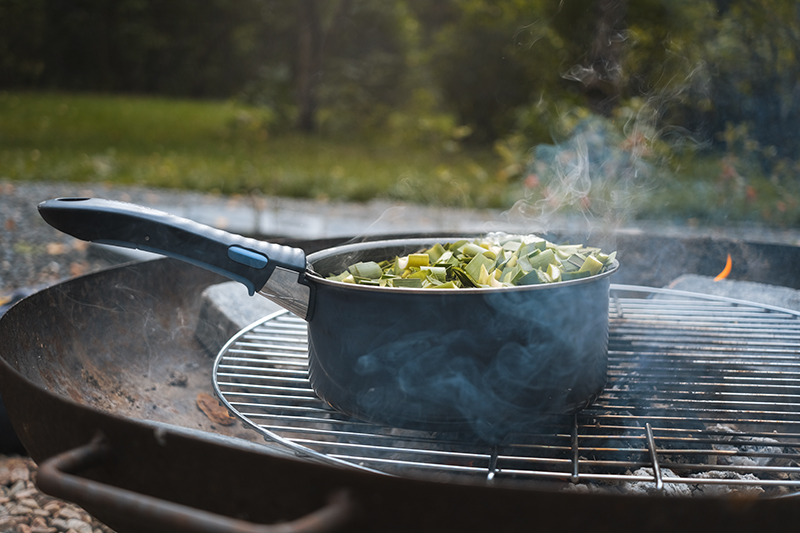
The point of boiling the material is to release the fibers that we need to create paper. Speeding up the process is possible by adding washing soda (Calcium Carbonate) or lye (sodium hydroxide). But be careful, only add a tiny bit at a time or you get an unruly fluffy soup!
Like this:
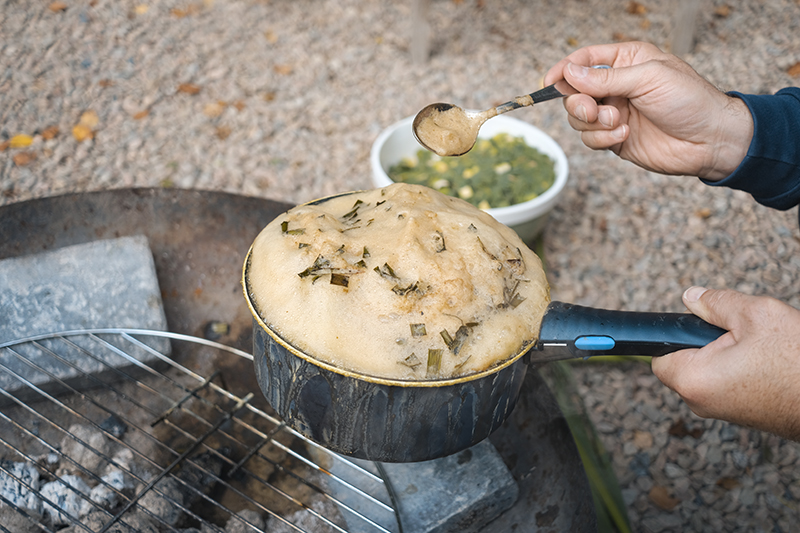
As you can see, Joeri’s “Oops!” turned very messy, but I have to say, it cut the total cooking time to about a third!
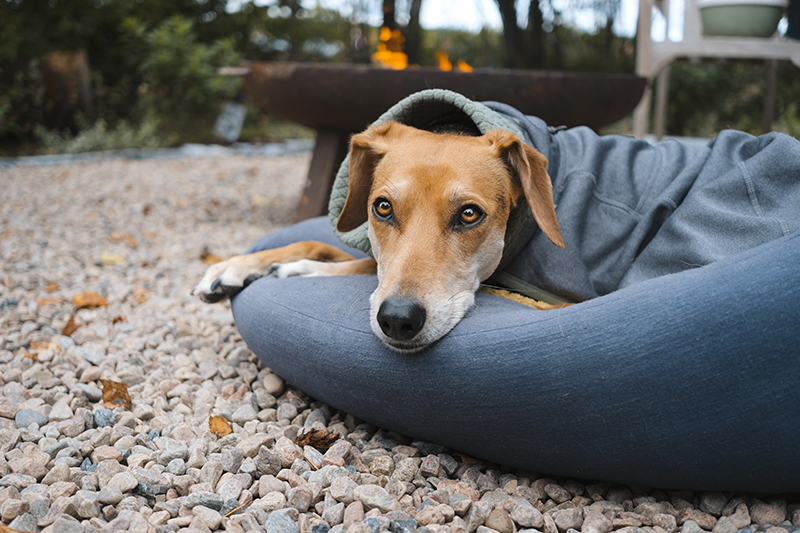
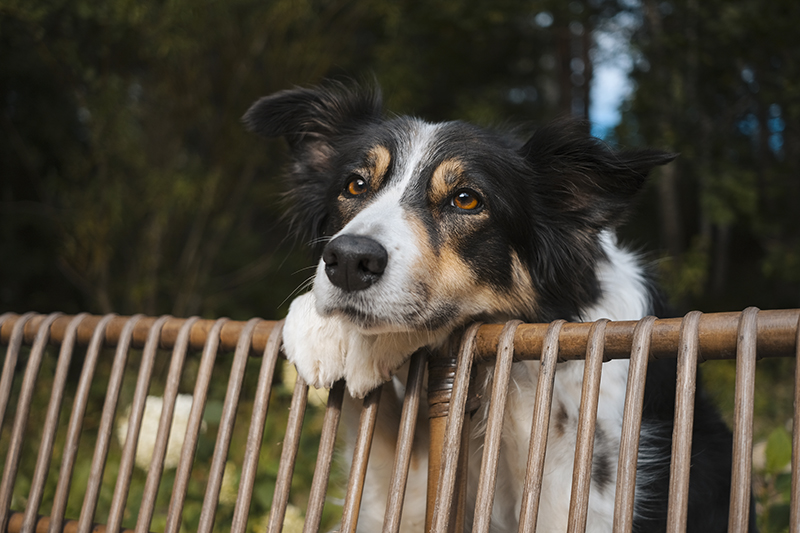
The dogs were curious too:
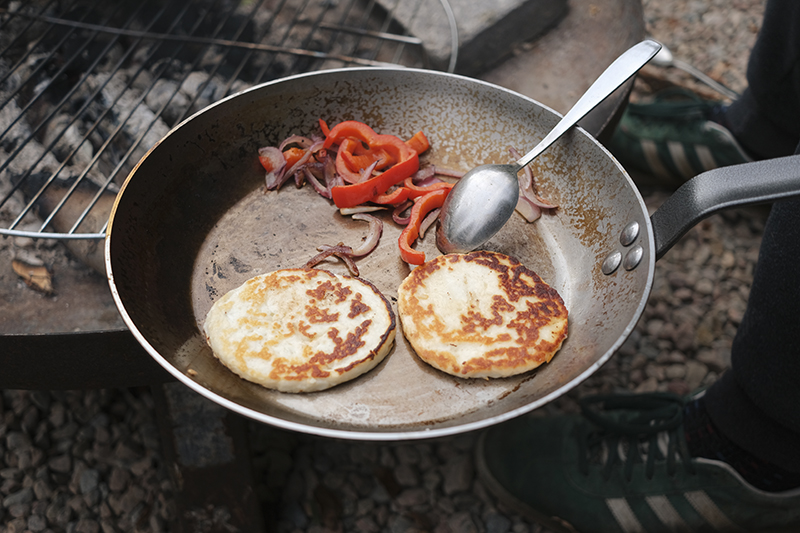
And since we already had a fire,…
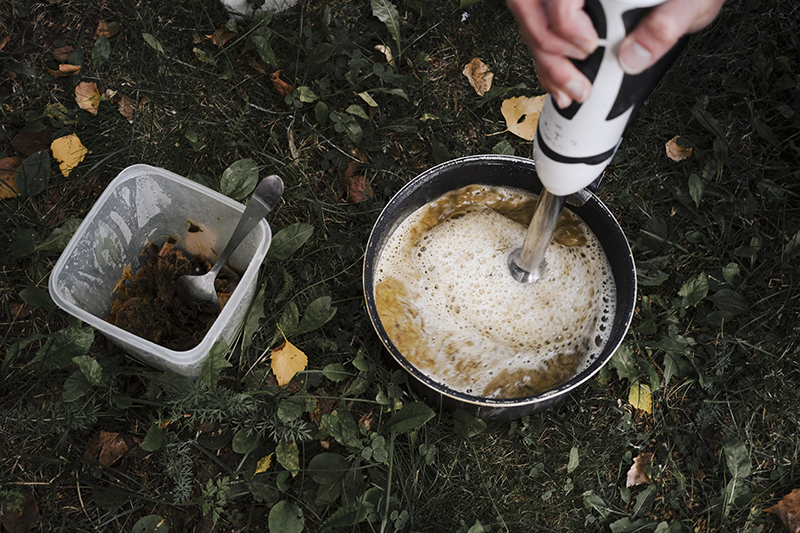
After boiling for a few hours, right when the material changes, it’s time to rinse and blend. This raw material can be challenging for kitchen tools, so to avoid overheating, it’s best to process small batches.
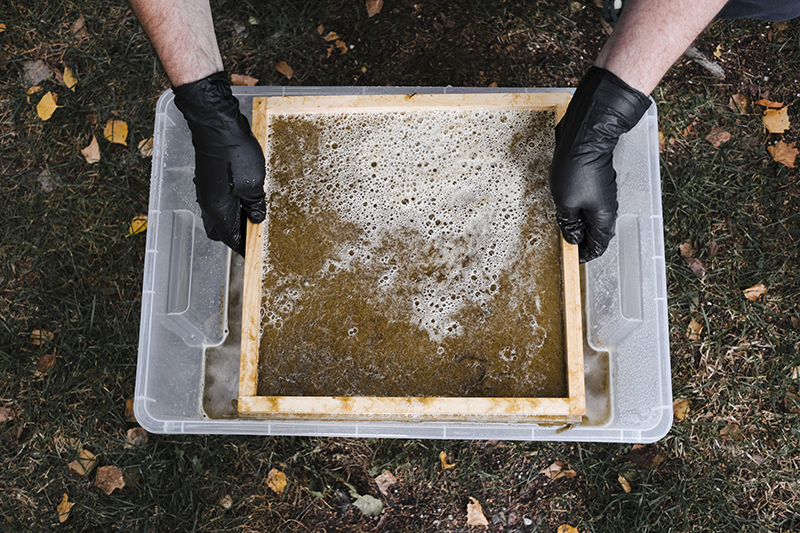
The first container was a bit too small/high for the frame that we made so Joeri quickly created a few smaller ones.
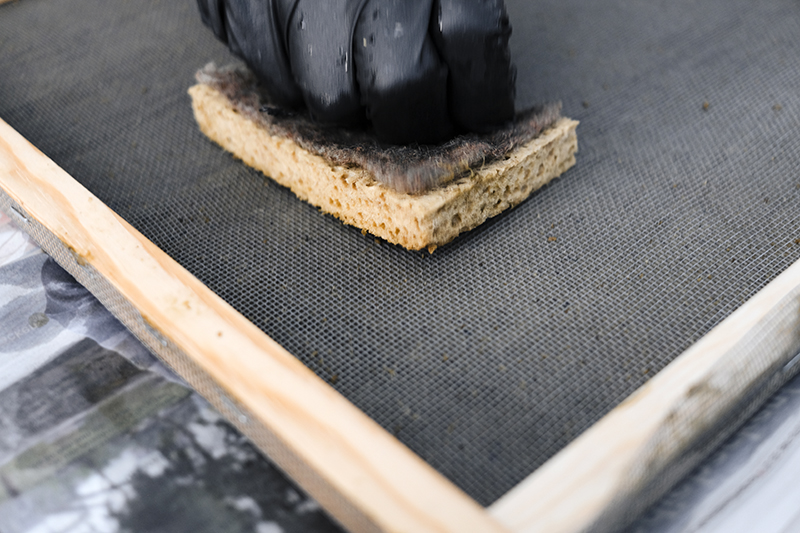
An old sponge sucks up excess water.
Et voila, the result:

Things we will do differently next time:
– Make the paper thicker. A different tub might help, or another technique to catch the fibers. I think that this will also help to get the paper off the mold so that it can be pressed sooner and dry flatter.
– We’ll look out for a bigger cooking pot.
– I’d like to experiment more with dry cattail, seeds, and other plants.
