Wood stain experiments
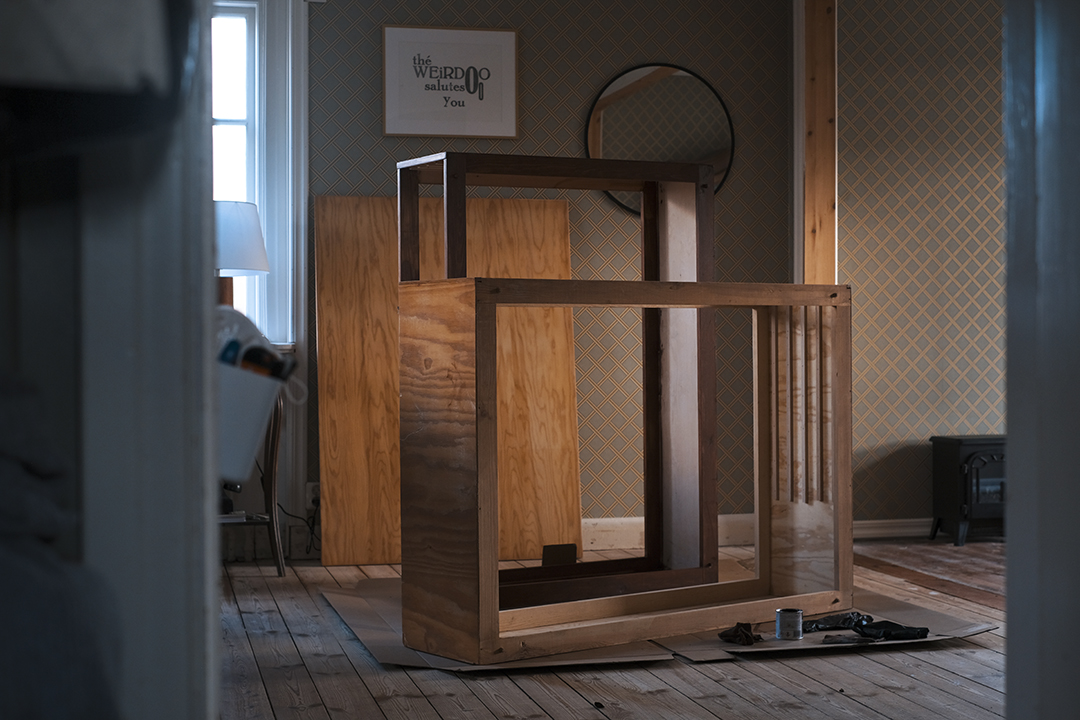
After testing the wild waters of furniture makeovers with my neon-experiment, I was both hungry for more and curious about another type of paint that I had read about. The neon paint that was used for the bookcase was regular acrylic paint so if I wouldn’t have been satisfied, it would be possible to remove it again. Unlike wood stain that – I have been told- penetrates much deeper into the surface. And even within the category of wood stain, there are different types.
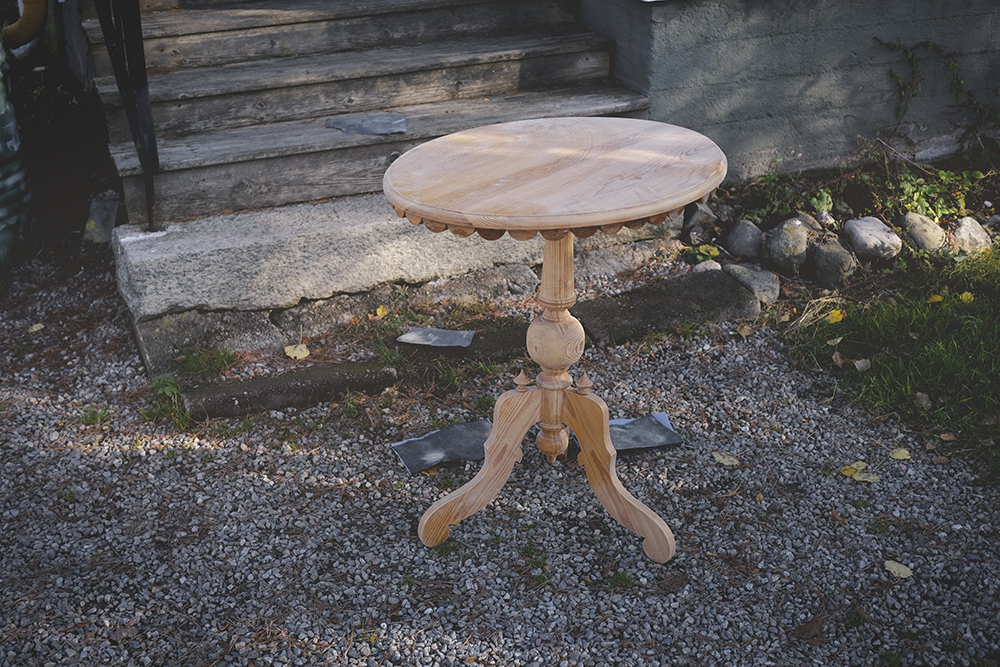
First up was a second-hand table. There is something about it that I like, but at the same time, I struggled to find what it lacks so I decided to use it for the very first wood stain experience. After all, I can always try something else later.
I started by sanding it thoroughly and smoothening the edges of the lower part. Perhaps I could have made them even softer as I think it looks a bit unfinished. For the color, I tried to find a wood stain that would match my sofa and the doors as I’d like this table to blend in colorwise but add depths with its shape.
After sanding, before painting:
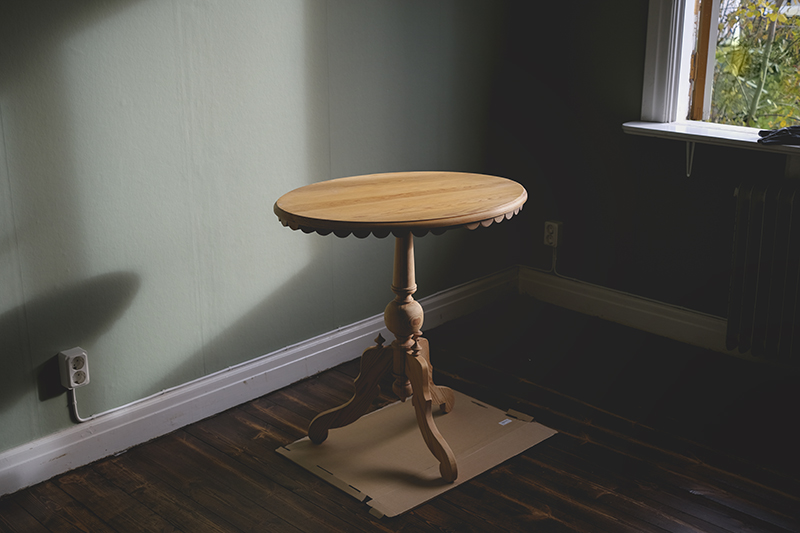
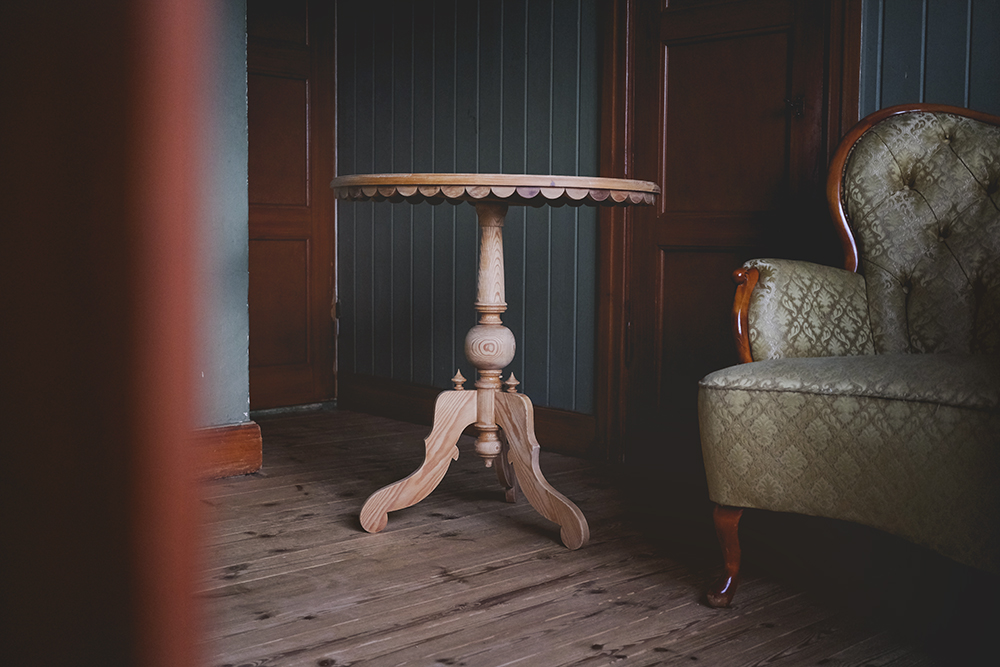
After: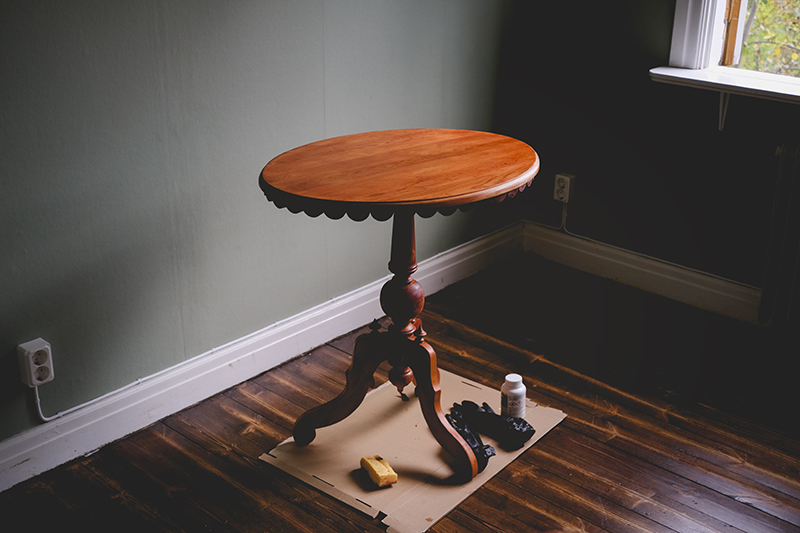
This first type of wood stain was liquid and it has a very strong smell that stayed around for a long time, even with all the windows open. If it would be warm and dry (instead of rainy) I would take it all outside to work on. As I was advised in the store, I used a sponge to apply the product onto the wood. At first, I struggled to get an even surface as you can’t really play with it nor move it around once it is on there. So some parts got a bit darker than others.
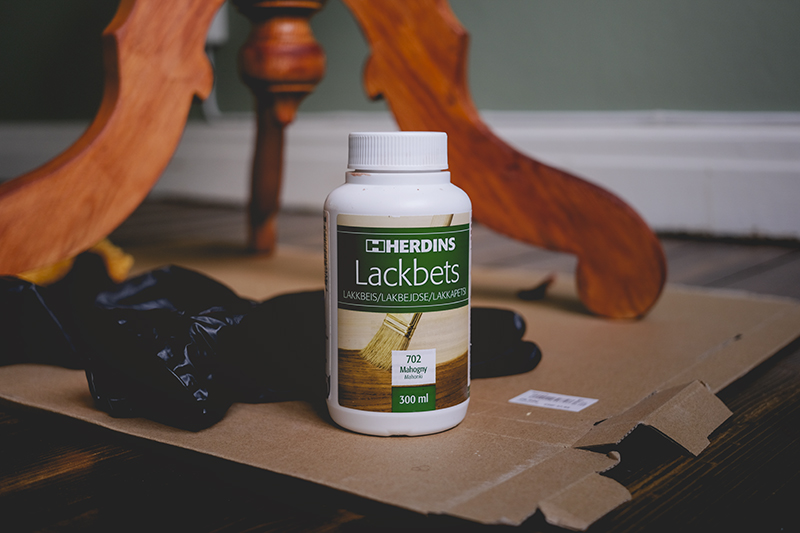
And then I got kinda addicted,… I guess haha. It’s just very fun to see a piece change and what a difference it makes to add some color. Next up was something that I have been using for several years:
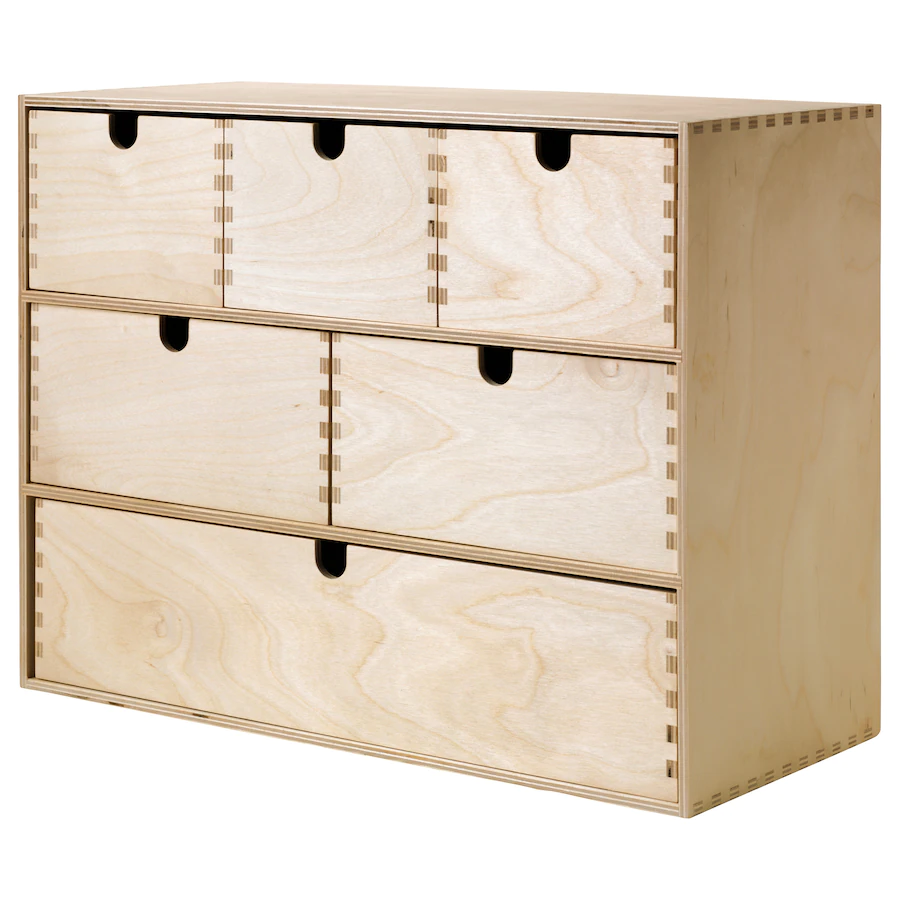
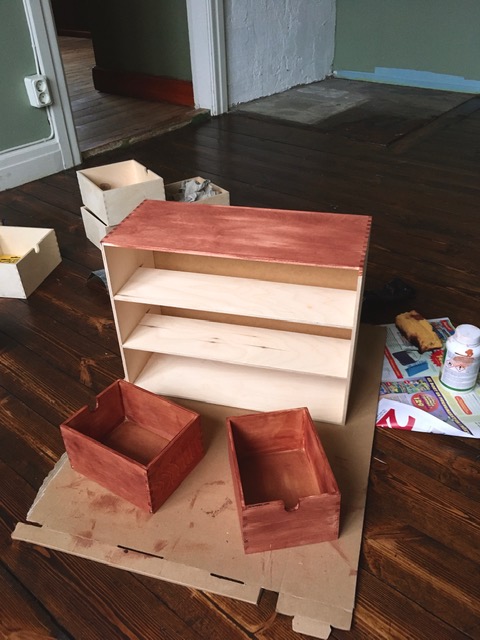
It’s from Ikea and it is made of birch plywood. Here I was putting on the first layer. I did 2 before varnishing. I want to emphasize the depth of the color and think/hope that a few layers of varnish will do so. On unfinished wood, it is rather dull when dry.
What else could I give some extra color? My workbench! It’s also from Ikea and it’s a bit higher than a normal table, making it easier for preparing leather patterns or inking etches. But it’s also from light pinewood:

And below you can see what it looked like after one coat. I ended up doing 3 layers. The 2nd and 3rd were very thin but still, it might have gotten a bit darker than I anticipated. Again I used a sponge to start with but then worked the edges with an old brush because the sponge didn’t reach all the tiny lines in the plywood. It’s now all drying and waiting to be varnished.

Just when I ran out of wood stain, we got a text message that my order had arrived. When I visited the shop, looked through all the colors, and listened to the advice on the different types of wood stain, it seemed interesting to try a few different types. Especially since one of the colors that I liked was already available (and the cheapest) and the other one needed to be ordered.
Of this type, I chose the color ‘Rosewood’. Compared to the first type, this one has a thicker consistency and it smelled way less. The scent reminds me of printmaking ink and the texture of shoe cream. Instead of applying it with the sponge, I chose an old rag.
It might look confusing, but these are part of old architect drawers that I found recently- there were even still some drawings of traditional Swedish doors in it! Most of the wood is in good shape but it is looking dull, uninspired, and tired. The hardware was very used and some parts were even a bit rusty so I will try and clean it all, but I might have to look for new handles and label holders.
I noticed that the parts that had varnish before take up way less product and are much harder to reach a nice deep color, even after lots of sanding.
This piece still needs a lot of work, hopefully, I can show you something decent later 🙂

PS: I always use gloves and have the doors and windows open.
