Tumbling blue and green slag stone


Ever wondered what rocks and stones would look like if they would be all clean and smooth? Well, I’m that person who’s often behind on walks, not only to take photographs but also because I saw a pretty stone/texture/shell/… Until I started taking little bags in my backpack (or even purse), I had stones and stuff in every pocket- and I still find these treasures everywhere in the house :-).
I was curious enough to start learning and reading online and even trying to polish stones with sandpaper* before getting a real rock tumbler.
*Note: I found out that using sandpaper might be harmful/unhealthy depending on the kind of stone. Before I started reading a bit more, I thought that rocks were just rocks. They appear in different colors and might differ in hardness but that’s about it. Almost by surprise, I found a brilliant use of the Mendeljev table (this thing everyone had to learn by heart in high school for no clear reason)- as both mines and information about ores provide details about their chemical composition. Quartz, for example, consists of SiO2, meaning one silicon atom and two oxygen atoms. Cutting, grinding, chipping, sanding, drilling, and polishing may cause dust particles that one breath in, and the crystalline silica of respirable size is a recognized human carcinogen and may lead to diseases. While this example of quartz is way too hard to attempt much with sandpaper, every rock has its own composition and I just keep in mind to be careful.
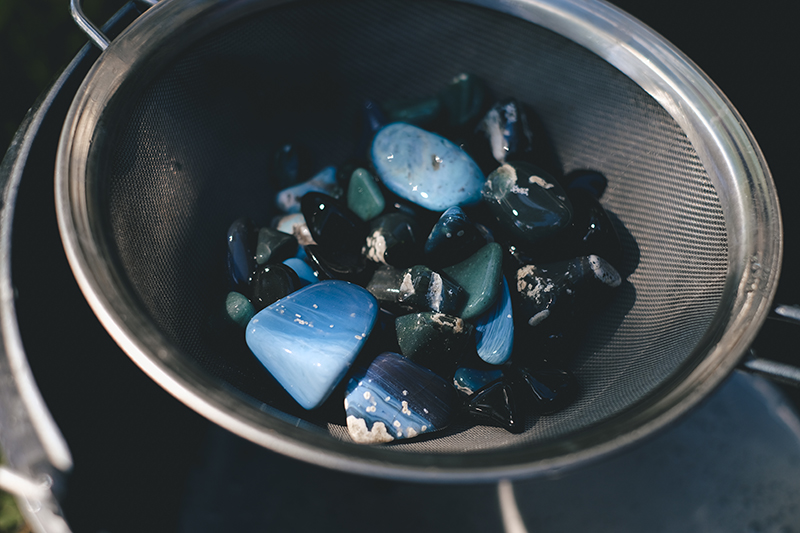
Ever since moving here, I’ve been loving the slag stones which are technically not real stones but a leftover product from centuries of mining. I’ve been collecting little bits and pieces on walks, turned some into jewelry, but was still wondering about possibilities of bringing out more of their beauty because when you find them, they are often rough or sharp as glass.
Tumbling them is certainly not a quick solution. There are 4-5 steps to get from rough to polished and every step takes between 7 and 10 days. Unlike the beach pebbles that were already smooth when I found them (so you can skip the first step), the slag stones need a lot of work.
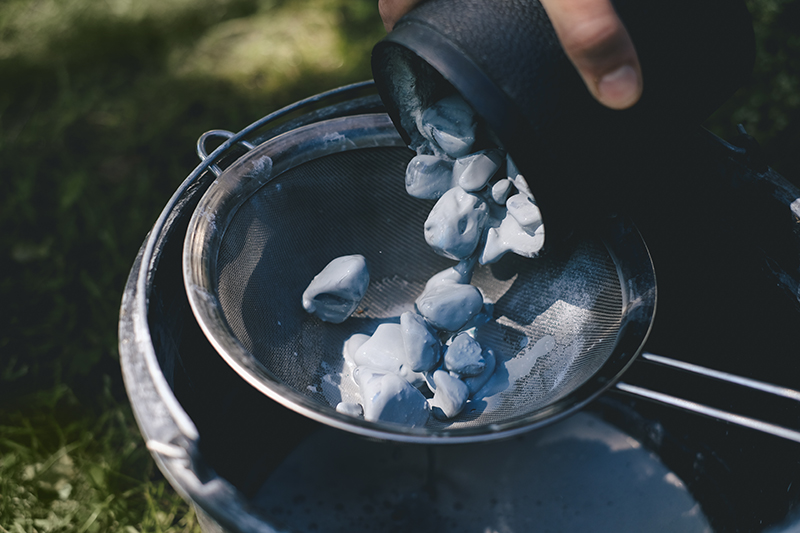
During the first session, the roughest grit is used to create nice rounded shapes without any sharp bits. This step takes away the most material and since there is a minimum amount of rocks/water in the barrels, this means that I have to run several batches of step 1 before I have enough to get them through steps 2 and 3. Patience is key! And oh, I’m so curious!!
But after tumbling, when the rocks are still wet from cleaning, you can already see some of their potentials. When dry, they will turn matte until fully polished.

PS: I have this kind of rock tumbler. It has two barrels so I can tumble 2 different sessions at once. Currently, I have a step 2 and a step 3 tumbling at the same time. Both got a label with a number and I keep a notebook with dates, type of rock, and grit used.
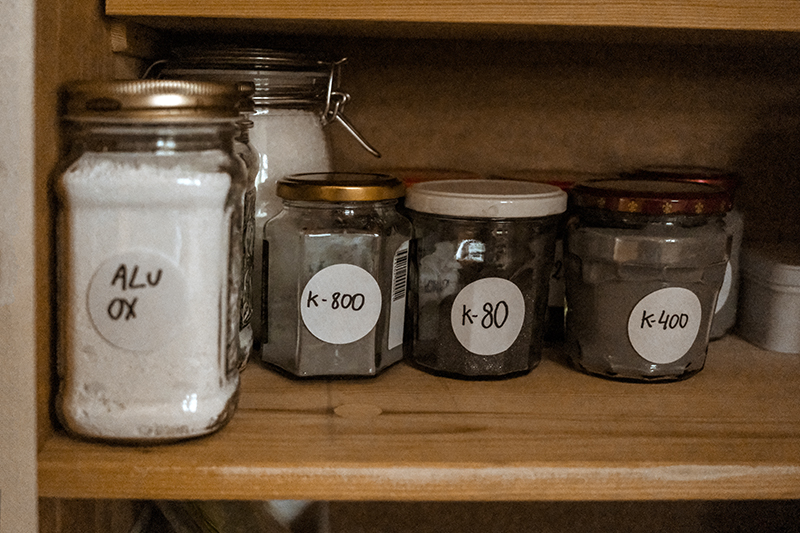
If you’re interested, I order my supplies at Bodemschat.nl which is a Dutch company but they ship worldwide. I have been looking around locally/in Sweden but it was not only difficult to find what I was looking for, most places had no customer service, didn’t respond to e-mails or questions, or only send a catalog without any explanation. When we contacted Bodemschat.nl, they responded quickly, had extra information, set one aside for us to order and ship fast.
